Import the practice crate
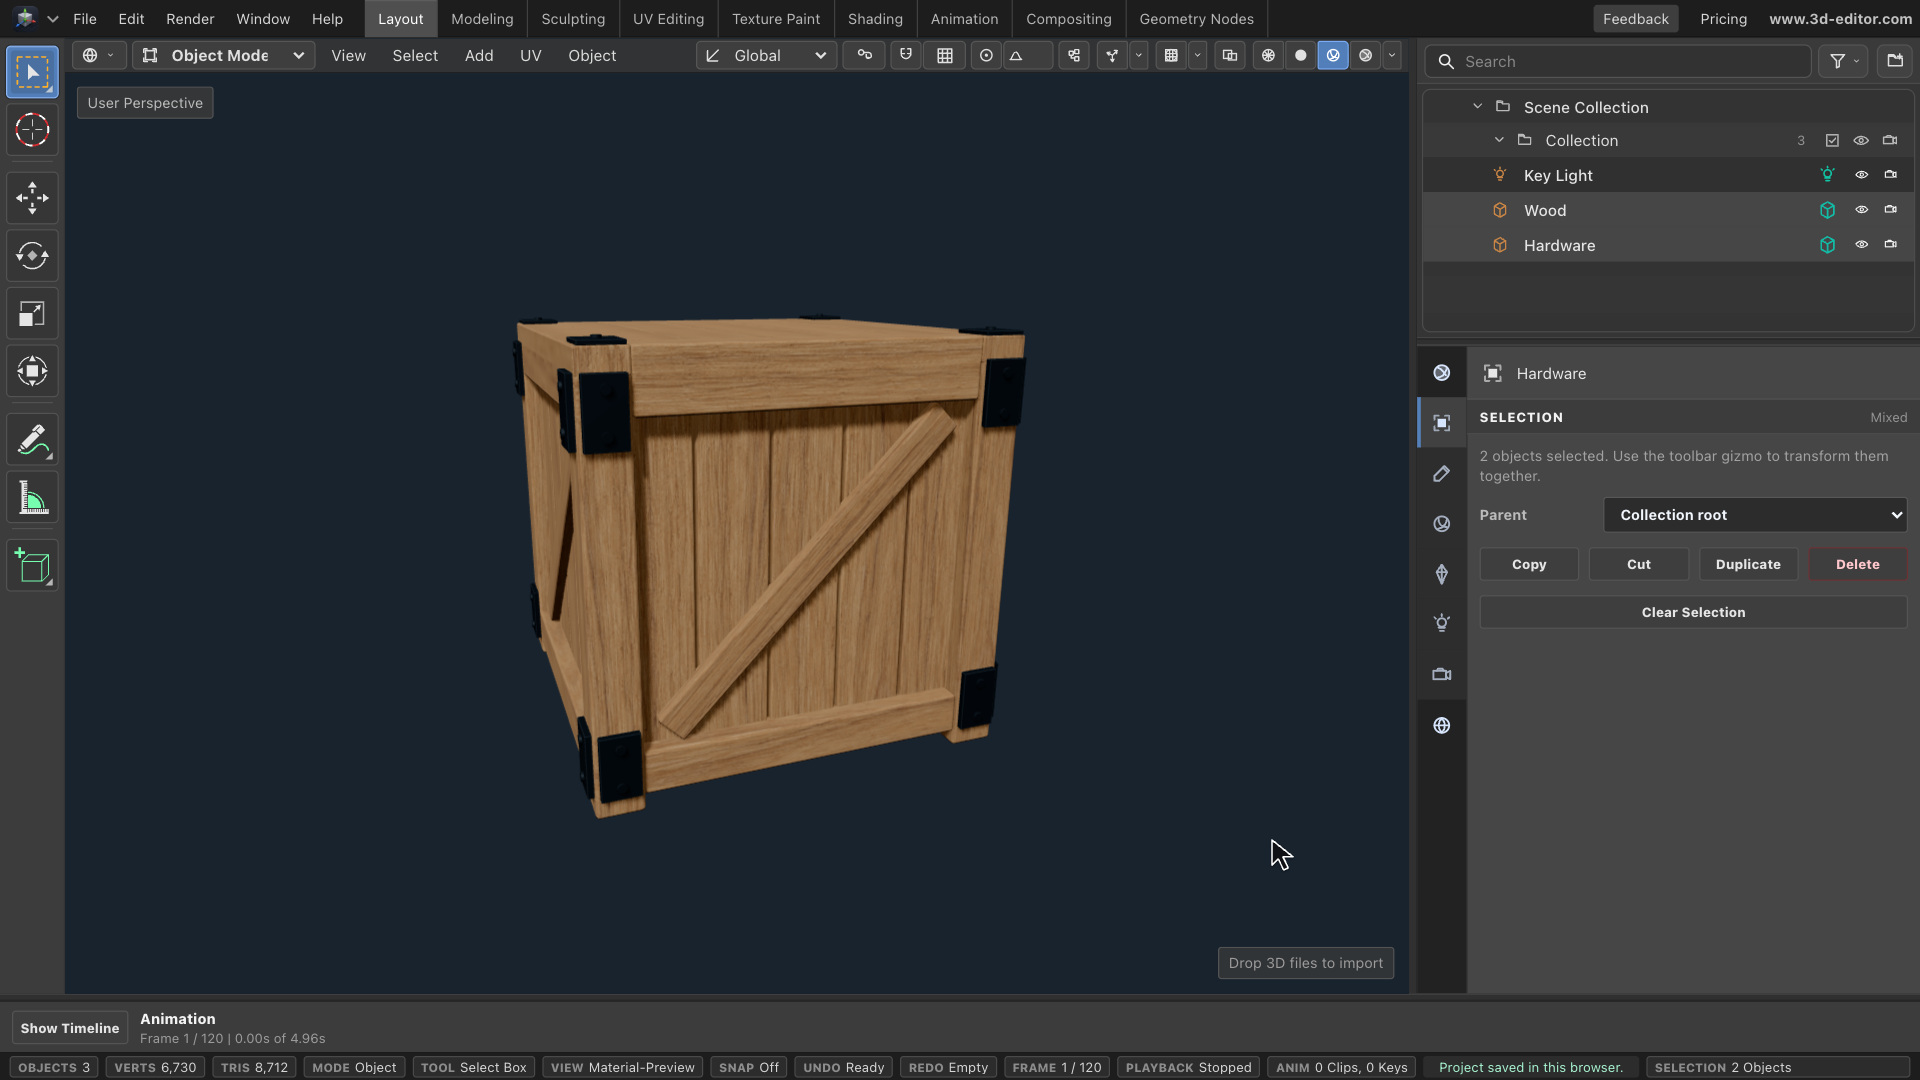
- Download the original GLB and wood JPG. In File, turn off Import as group and Center imported asset, then choose Import Files and select the crate.
- Remove the default Cube and Camera with Object → Delete; keep Key Light.
The crate is an original MIT-licensed model. The separate wood image was AI-generated for this tutorial, not taken from a third-party photo library.
Choose the wood surface
- Select Wood in the object list. Choose View → Frame Selected, switch to Material Preview, and open Material properties.
- Keep Base Color white and Metallic at 0. Set Roughness to 0.8 for a dry, soft finish. Hardware has its own material.
Add the image texture
- Scroll down and open Texture Slots. At Base Color Map, upload wood-grain.jpg.
- Orbit the crate. Check the board grain and confirm that the metal fittings stay unchanged.
A Base Color Map supplies color, not geometry: it does not create raised grain or real cracks.
See how the image fits
- This sample already has UV coordinates that tell each face where to read the image. Keep them; a new projection would replace the prepared board alignment.
- With Wood selected, open UV Editing. It enters Edit Mode. Switch back to Material Preview and arrange the UV window so the model remains visible.
Show the UV image reference
- In the UV window, choose Image → Open and select the same wood image. This displays a reference; it does not assign another material texture.
- Choose Select → All. The outlines show which image regions the faces use.
Test direction and scale
- In the UV window’s UV menu, choose Rotate and watch the grain turn without changing the model shape. Undo this test to restore the board-aligned direction.
- Open that UV menu again and choose Scale for a small adjustment. Judge the texture size on the model, not only the flat image.
Check the finished surface
- Close the UV window and return to Object Mode. Closing UV Editing switches to Solid, so choose Material Preview again. Orbit to inspect the grain, edges, and separate metal fittings.
- Keep the wood material white so it does not unintentionally tint the image.
Save, export, and reopen
- Select Wood, then Shift-click Hardware in the object list to select both meshes. In File → Export, choose GLB binary and Scope to Selected, then Export. GLB keeps this model and image together.
- Use File → Save for the working project in this browser. Keep the downloaded GLB as a separate backup.
- Use File → New, then remove the recreated Cube and Camera; keep Key Light. Keep grouping and centering off and import the export. Check both parts in Material Preview. Select Wood, open Material properties, and adjust Roughness to confirm the image stays attached.