Import the speaker
- Download the original GLB. In File, enable Import as group and turn off Center imported asset. Choose File → Import Files.
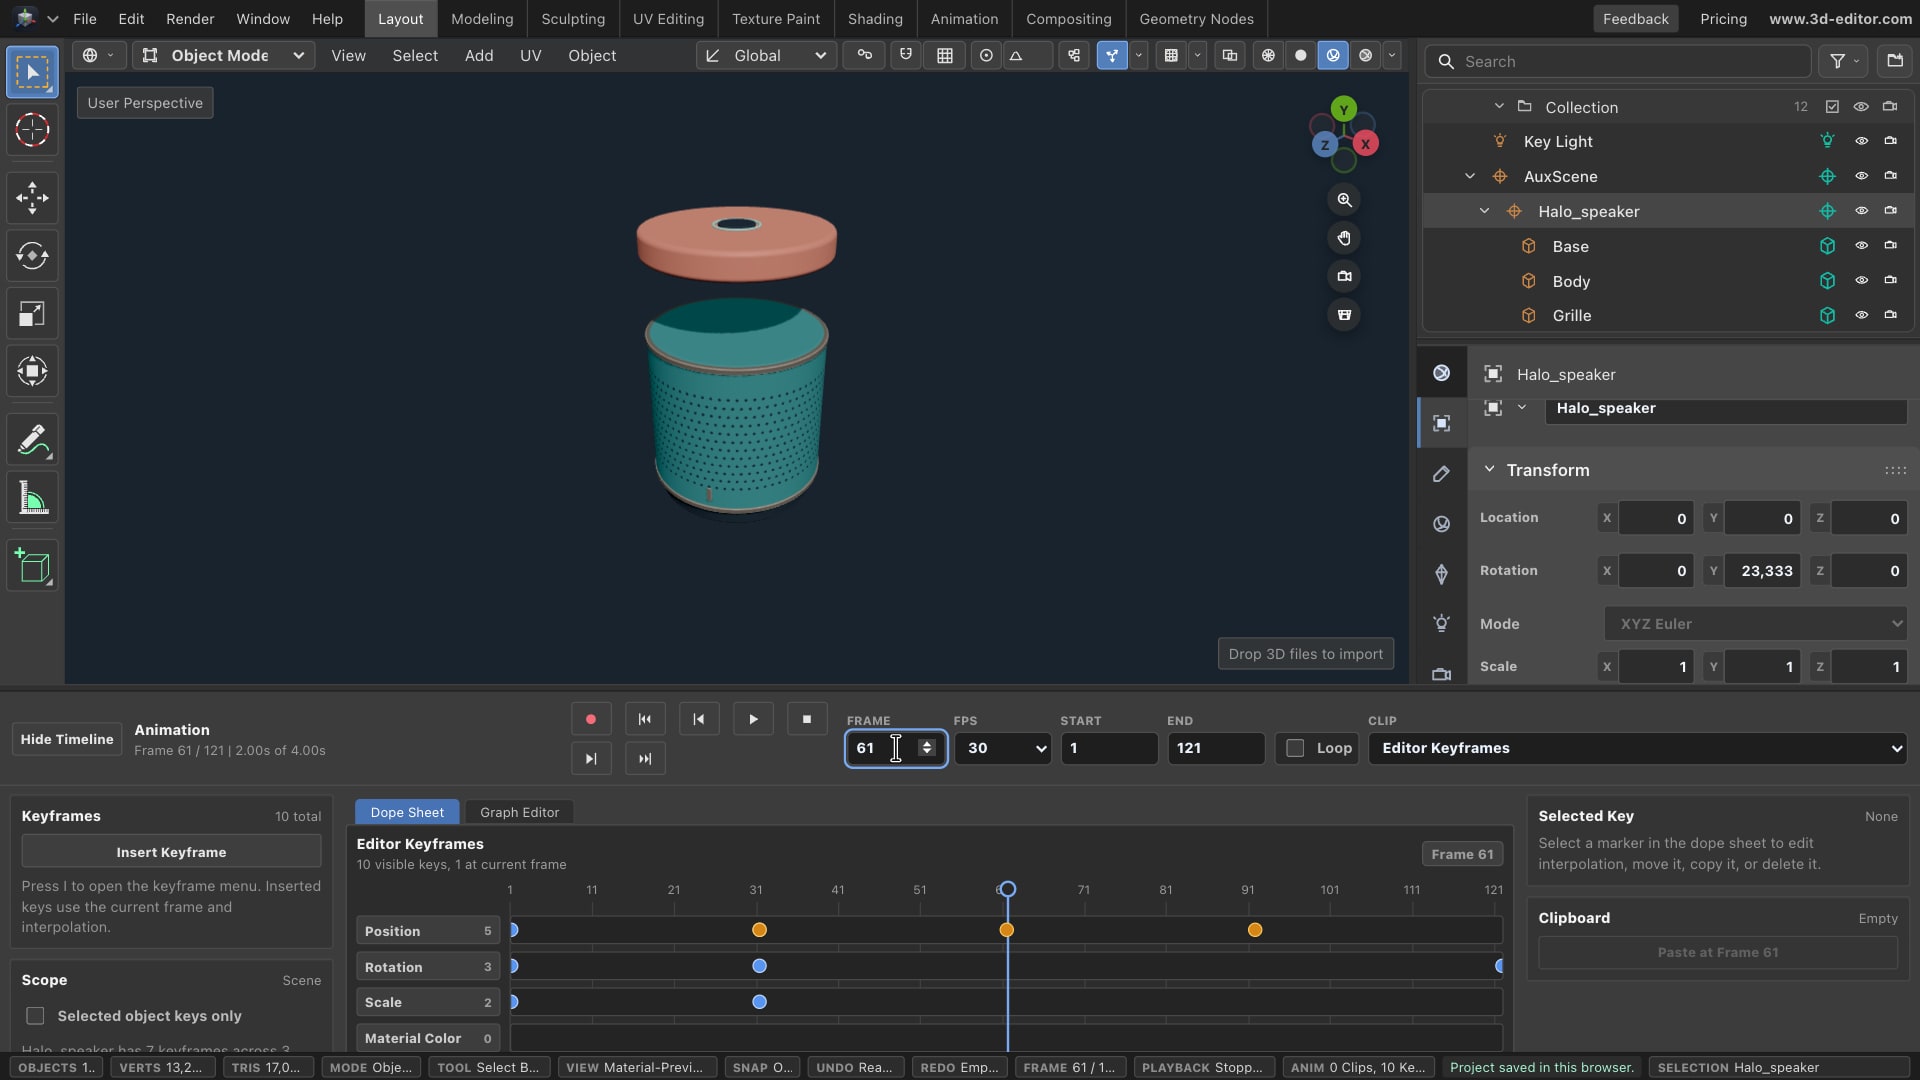
- Remove the default Cube and Camera; keep Key Light. Select Halo_speaker in the Outliner, choose View → Frame Selected, and switch to Material Preview. Leave room above the cap.
Set up the timeline
- Show Timeline. Set FPS to 30, Start to 1, and End to 121: a four-second animation. Turn off Loop and Auto Key.
- A keyframe remembers a pose. The editor creates the motion between keys; here you will insert them manually.
Save the starting pose
- Keep Halo_speaker selected. At frame 1, open Object properties. Set Location Y to -0.5, Rotation Y to -30°, and Scale X, Y, Z to 0.75.
- Open Insert Keyframe, set Interpolation to Smooth, then click Transform to record position, rotation, and scale.
Smooth interpolation requires Pro. Linear also works, with constant-speed transitions.
Bring it into place
- At frame 31, set Location Y and Rotation Y to 0, and Scale X, Y, Z to 1. Insert another Smooth Transform keyframe.
- Scrub frames 1–31 to see the whole assembly rise and grow.
Add the turn
- At frame 121, set Rotation Y to 90°. Insert a Smooth Rotation keyframe—not Transform. Position and scale now stay unchanged while the model turns.
Open and close one part
- At frame 31, expand the group and select Top_cap. Its Location Y is 1.75. Insert a Smooth Position keyframe.
- At frame 61, set Y to 2.45 and insert Position again. At frame 91, return Y to 1.75 and insert Position.
- These are the cap’s local coordinates, relative to its parent. Power_button and Status_light follow because they are its children.
Watch the full motion
- Jump to frame 1 and press Play. Check the entrance, turn, and cap opening. Smooth interpolation softens the transitions.
Keep an animated copy
- Select Halo_speaker again. In File → Export, choose GLB binary, Scope to Selected, and enable Include animations. Keep all speaker parts visible, then Export.
- Use File → Save for your working project too. Keep the downloaded GLB as a separate backup.
This is object animation, not a character rig. Other models can use the same workflow with different part names and values.