Start with a thin block
- Open the homepage editor. Delete Camera. Select Key Light and turn off Selectable in Object → Visibility; turn off Cast Shadow in Light properties for this preview.
- Choose Material Preview. Rename Cube to Back. Set Scale X/Y/Z to 1.7, 0.15, 0.16 and Location to 0, 0.15, -0.9. Choose Object → Apply Scale.
These are scene units, not millimetres. This is a visual prototype, not an engineered or print-ready stand.
Extrude and lean the back
- From Top view, enter Edit Mode and choose Face selection. Select the top face.
- Choose Face → Extrude Faces. Press Y, type 3.6, then Enter. With the new face still selected, press G, Z, -0.8, Enter to lean the back. Return to Object Mode.
Y is up in this editor. Moving only the top face creates the slope.
Soften the edges and add a base
- Add a Bevel modifier to Back: Amount 0.06, Segments 3, Affect Edges. Apply it. Set Base Color to #268A91, Roughness to 0.32, and Metallic to 0.3.
- Add a cube named Base. Set Scale to 1.9, 0.125, 1.45 and Location to 0, 0.125, 0. Apply Scale, then apply the same Bevel. Use #233646 for its color.
Place a cylinder through the back
- Add a Cylinder named Cable cutter. Set Scale to 0.48, 1.4, 0.48; Location to 0, 1.25, -1.12; and Rotation to 90, 0, 0 degrees.
- Orbit to check that the closed cylinder passes through both sides of the back. Give it a contrasting color so it is easy to see.
Subtract the cutter
- Select Back and add a Boolean modifier. Choose Difference and set Operand to Cable cutter. Keep Fill cut faces enabled to make the inner wall of the hole.
- Apply the Boolean before deleting Cable cutter. Then select and delete the cutter. Inspect the opening from both sides.
Mirror the front supports
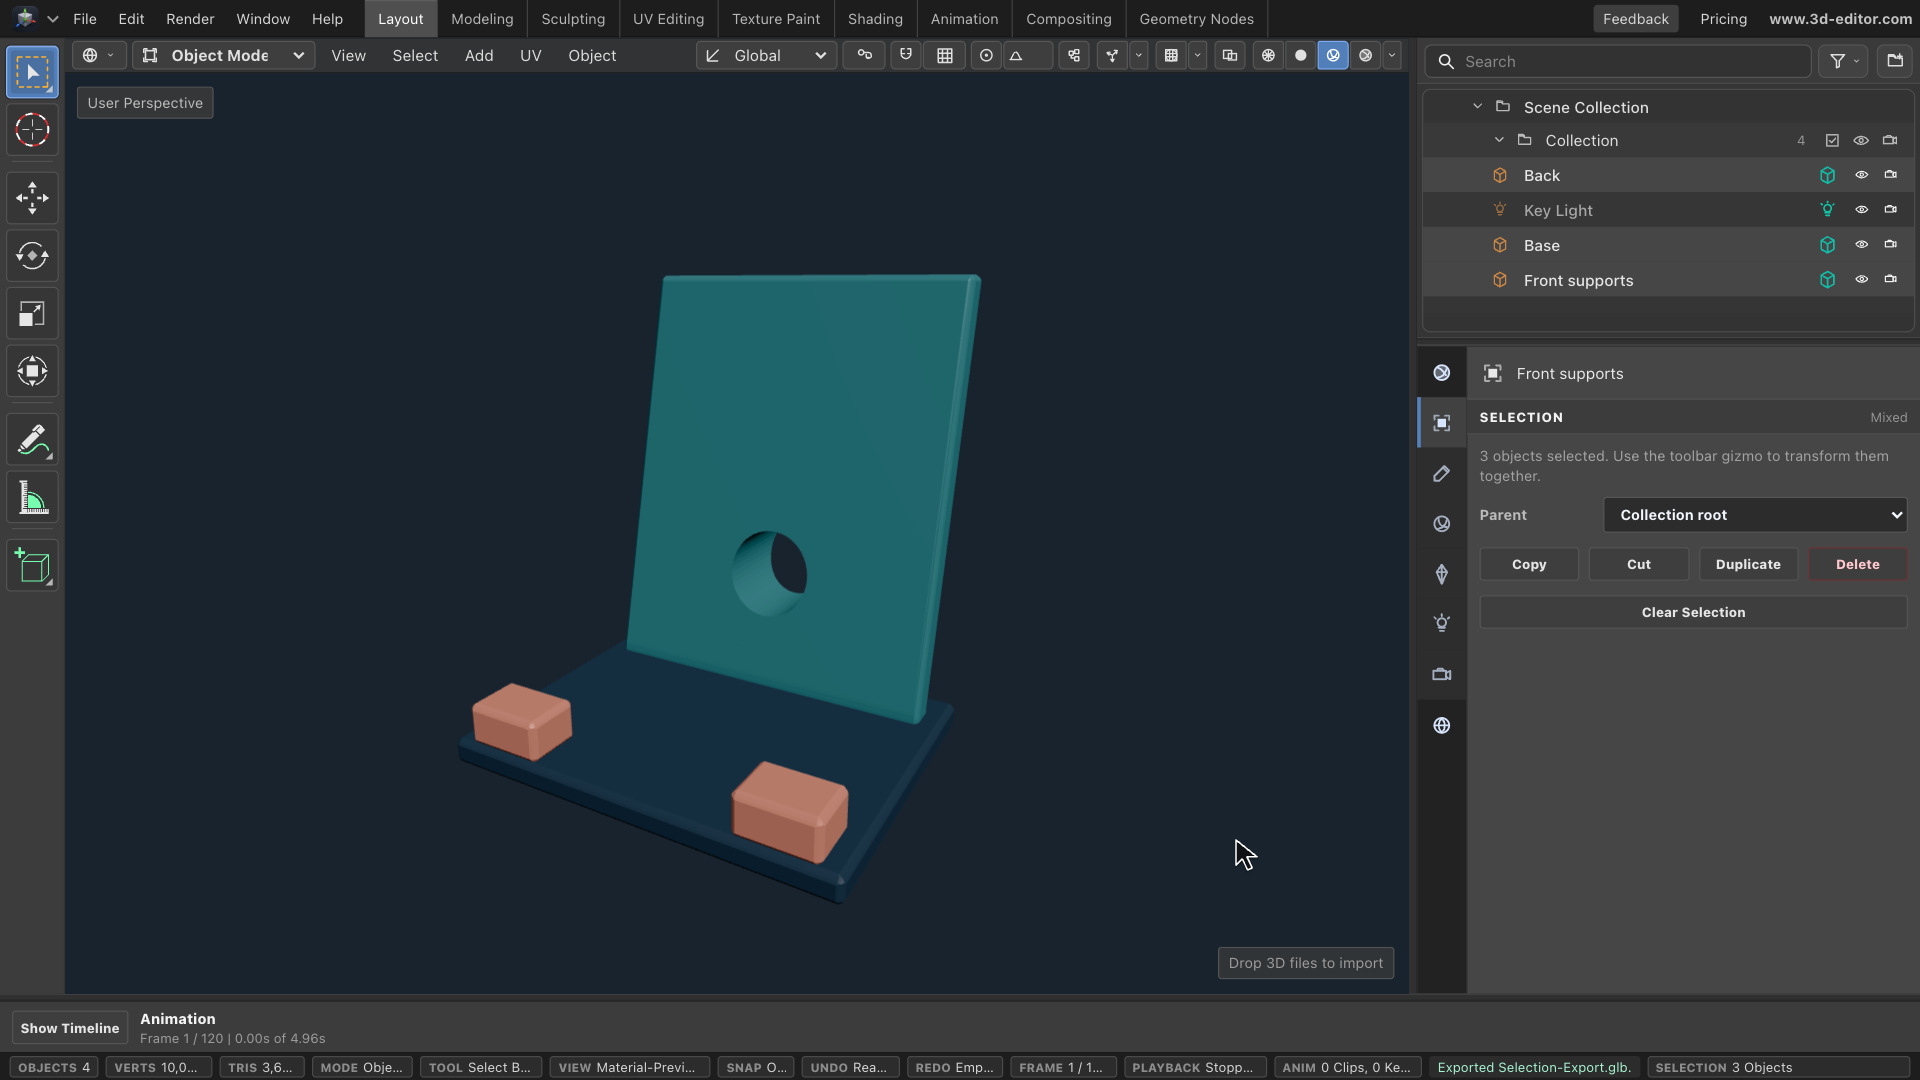
- Add a cube named Front supports. Set Scale to 0.38, 0.2, 0.27 and Location to 0, 0.4, 1.03. Apply Scale.
- Enter Edit Mode, select all faces, and move them with G, X, 1.2, Enter. Return to Object Mode. Add Mirror on X only, then Apply.
- Apply a Bevel with Amount 0.06 and Segments 3. Set the color to #E17D66. The recipe includes all material settings.
Moving vertices in Edit Mode leaves the object origin centered. Mirror uses that origin for the matching support.
Export and check the hole
- Select the three mesh objects, leaving Key Light unselected. Use File → Save for the working project in this browser.
- Choose File → Export, GLB binary, and Scope to Selected. Turn off Include animations and export. Keep the download as a separate backup.
- In a new scene, remove Cube and Camera. Disable Import as group and Center imported asset, then import your exported GLB. Frame the stand and inspect the hole and supports.