Import the fish
- Download the original GLB. Turn off Import as group and Center imported asset in File, then choose Import Files.
- Remove the default Cube and Camera; keep Key Light. Select the fish, choose View → Top, then View → Frame Selected, and switch to Material Preview.
Start the skeleton
- Choose Add → Armature → Single Bone. An armature is a skeleton; each bone controls part of the mesh.
- In Armature properties, name the bone Body. Set Head to X -1.8, Y 0, Z 0, and Tail to X 0, Y 0, Z 0. Enable In Front.
Why these coordinates? This fish points along X. Other models need bone positions that fit their shape.
Add the tail bones
- Click Add Bone and name it Tail base. Set Tail to X 1.5, Y 0, Z 0; its head stays connected to Body.
- Add another bone named Tail tip. Set Tail to X 3, Y 0, Z 0. Finish this resting skeleton before binding.
Connect mesh and skeleton
- Select the fish first, then Shift-select the armature last. Choose Object → Armature Deform With Automatic Weights.
- Weights control how strongly each bone moves nearby vertices. The mesh can now bend with the bones.
Finish the mesh’s position and size before binding. For this rig, animate the bones—not the mesh object’s transform.
Try a bend
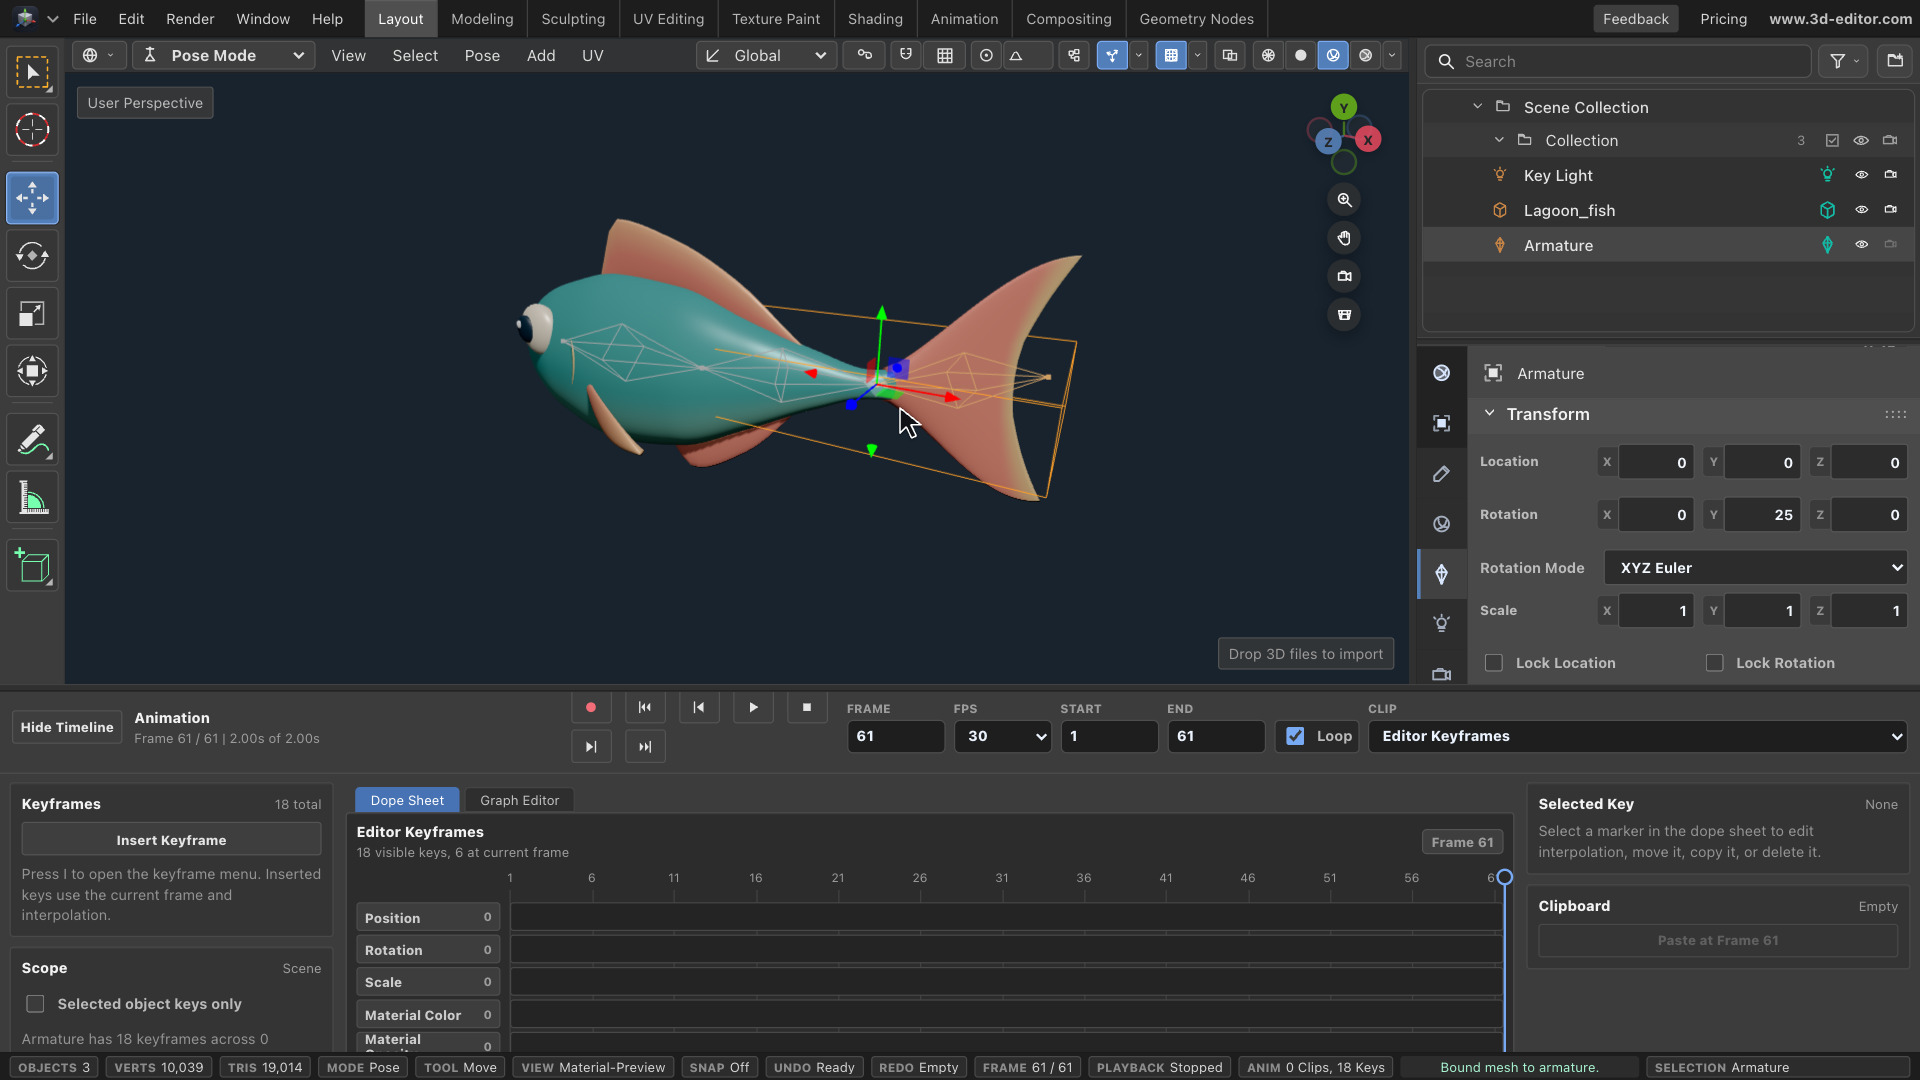
- Select only the armature and switch to Pose Mode. Select Tail base and set Rotation Y to 15°. Select Tail tip and set Y to 25°.
- Rotate the view to inspect the body and tail.
Not bending? Check that automatic weights were bound with the armature selected last, then edit a bone in Pose Mode—not the whole object.
Save the first pose
- Show Timeline. Set FPS to 30, Start to 1, End to 61, Loop on, and Auto Key off.
- At frame 1, select Tail tip. In Insert Keyframe, choose Smooth, then Pose Bone. Select Tail base and insert Pose Bone too.
Smooth interpolation requires Pro. Linear also works, with constant-speed transitions.
Complete the swim cycle
- At frame 31, set Tail base Rotation Y to -15° and Tail tip Y to -25°. Insert Pose Bone for each moving bone.
- At frame 61, restore Tail base Y to 15° and Tail tip Y to 25°, keying each again. Matching the first and last poses closes the two-second loop.
Preview, export, and reopen
- Press Play. Hide overlays and check for pinching or detached parts; automatic weights may need adjustment on other models.
- Return to Object Mode. Select both fish and armature. In File → Export, choose GLB binary, Scope to Selected, and Include animations.
- Keep the original and save your project. Use File → New for a clean scene. Turn grouping and centering off, then import the export.
- Select the imported armature. In Timeline’s Clip menu, choose the imported animation—not Editor Keyframes—then press Play.