Start with the practice mesh
- Download the original GLB. In File, turn off Import as group and Center imported asset, then choose Import Files.
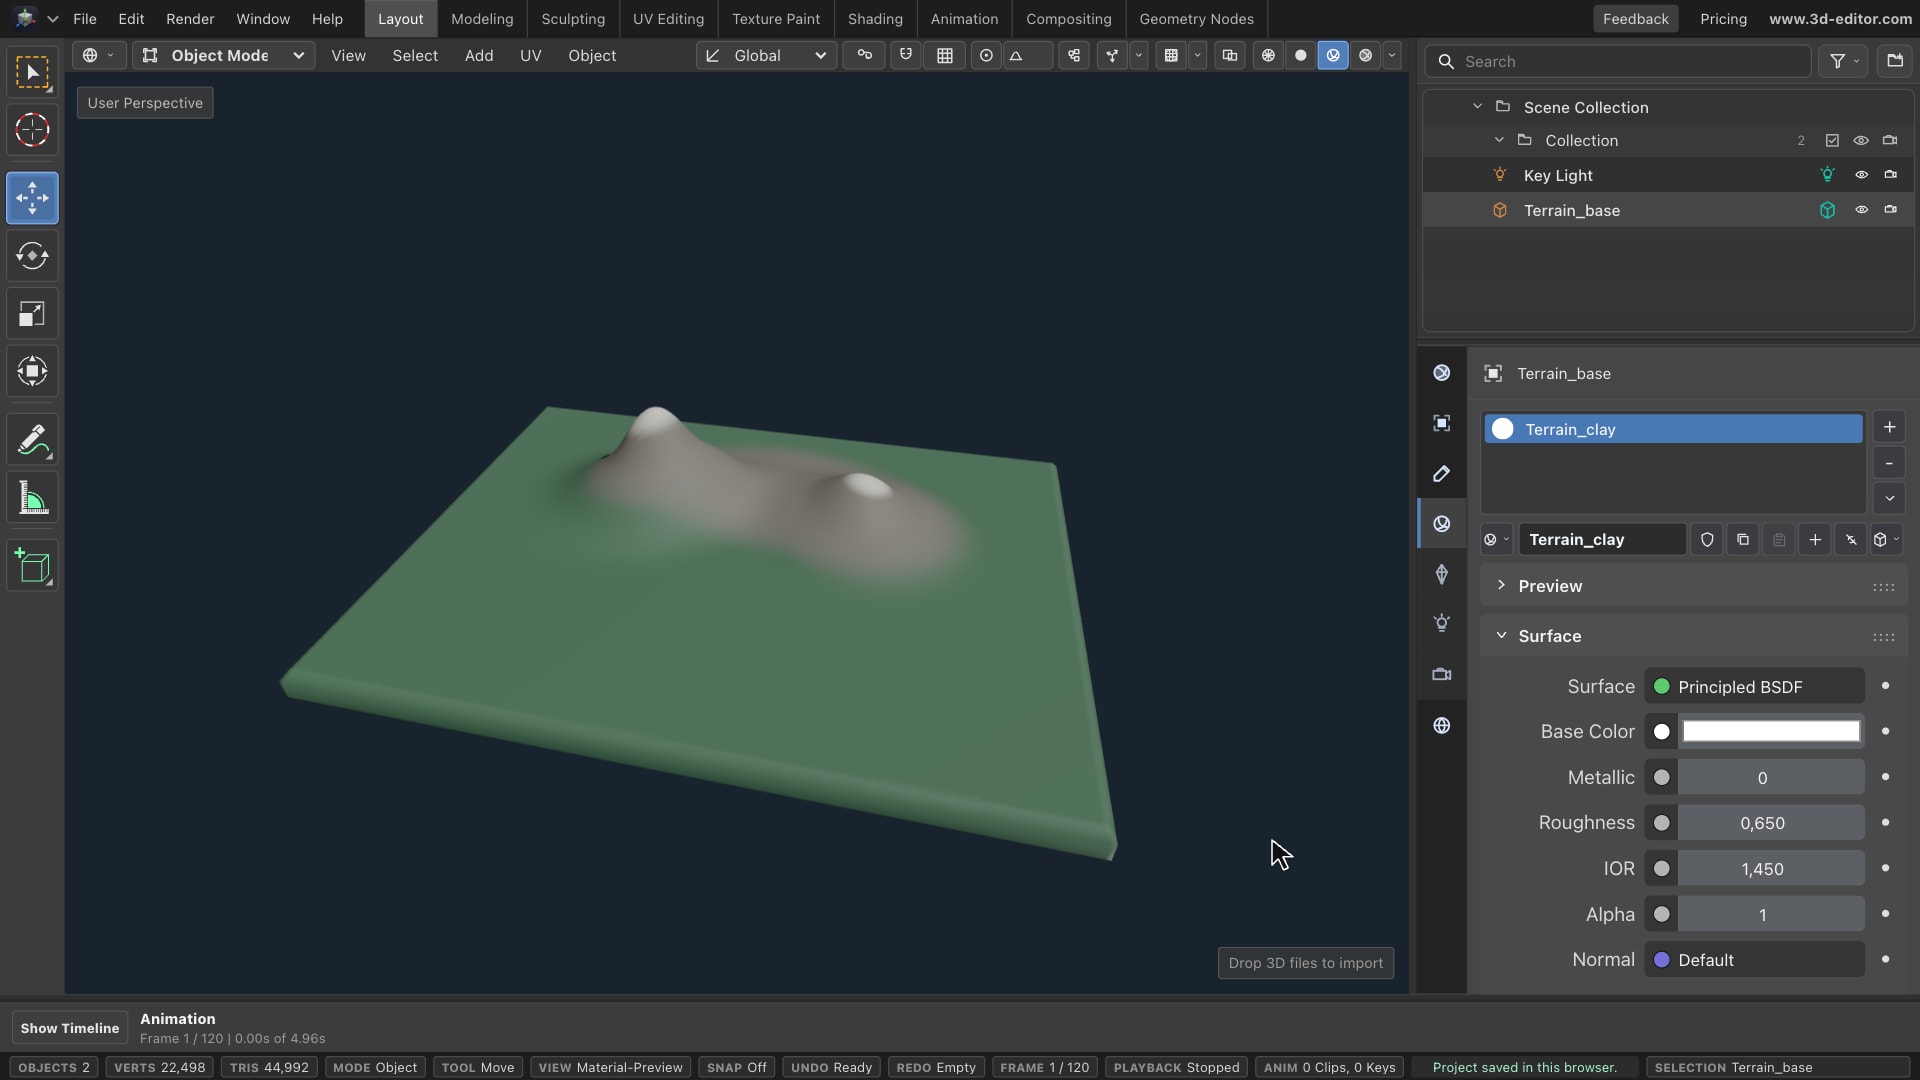
- Remove the default Cube and Camera; keep Key Light. Select Terrain_base, choose View → Top, then View → Frame Selected. Switch to Material Preview.
Sculpting moves existing vertices. This dense grid has enough points for hills; a four-corner plane does not.
Set a gentle brush
- Switch to Sculpt Mode and choose Draw. Set Radius to 110, Strength to 0.065, and Falloff to Smooth. Turn X, Y, and Z symmetry off.
- Radius controls brush size; Strength controls how strongly each stroke moves the surface. These are starting values for this sample and view.
Build the broad shapes
- Make several short passes in the back half of the tile to form broad hills. Build gradually instead of using one heavy stroke.
- Use Radius 100 and Strength 0.04 to connect them with a curved ridge. Overlap strokes and keep away from the rim.
Refine peaks and slopes
- Reduce Radius to 60 and use Strength 0.08. Add a few small strokes for a main peak and a lower neighbor; leave an open valley in front.
- If a stroke goes too far, use Edit → Undo and try a lighter pass.
- Choose Smooth with Radius 85 and Strength 0.4. Soften rough shoulders, not the summits. Orbit to inspect the silhouette and tile edge.
Prepare for painting
- Return to Object Mode. In Material properties, set Base Color to white (#FFFFFF) and Roughness to 0.65. White prevents the material from tinting your paint.
- Return to Top view and Sculpt Mode, then choose Paint. Its Color control paints vertex colors—not height or an image texture.
Paint may require Pro when the free-access period ends.
Cover the lowlands
- Set Color to #487457, Radius to 500, and Strength to 1. Use broad passes to cover the visible terrain in muted green.
- Keep symmetry off. The dense mesh lets neighboring vertex colors blend smoothly.
Add rock and pale caps
- Choose warm gray #807D73, Radius 105, and Strength 0.7. Brush the ridge and upper slopes, letting some green show through.
- Use off-white #F2EEE2 with Radius 34 and Strength 0.85 on the main summit. Try Radius 25 and Strength 0.7 on the lower peak. Keep both caps small, then orbit to inspect.
Save, export, and check
- Return to Object Mode with the terrain selected. In File → Export, choose GLB binary, Scope to Selected, and Include animations off, then Export.
- Use File → Save for the working project in this browser. Keep your original model and downloaded GLB as separate backups.
- Use File → New for a clean scene. Keep grouping and centering off, then import the exported GLB. Check the shape and colors in Material Preview.