Prepare the cabin
- Open the homepage editor. Delete Camera; keep Cube and Key Light.
- Select Key Light. In Object → Visibility, turn off Selectable so it stays out of mesh selections. For the clean preview shown here, also turn off Cast Shadow in Light properties.
- Choose Material Preview. Rename Cube to Cabin and give it a sandy Base Color: #E5BA87.
Inset and recess a window
- Frame the cabin from the front. Enter Edit Mode, choose Face selection, and click the front face.
- Choose Face → Inset Faces. Press S, type 0.55, then Enter to shrink the new face.
- Choose Face → Extrude Faces. Press Z, type -0.22, then Enter to recess it.
Y is vertical in this editor. Z controls the depth of this front-facing recess.
Color only the selected face
- Keep the recessed face selected. In Material properties, click Add Slot and set Base Color to #EFBB5D.
- Click Assign Faces. Return to Object Mode and orbit to inspect the recess.
Extrude the roof and chimney
- Add a cube named Roof. Set Scale to 1.25, 0.08, 1.2 and Location to 0, 0.96, 0. Choose Object → Apply Scale.
- From Top view in Edit Mode, select the top face. Extrude 1.1 along Y. Scale X to 0.035 to form the ridge. Return to Object Mode and color it teal.
- Add a narrow cube for the chimney using the recipe. Apply Scale, inset its top face, then extrude -0.3 along Y for the opening.
Sculpt the island
- Add a UV Sphere below the cabin. Set Scale to 3, 0.6, 2.6 and Location to 0, -1.42, 0. Apply Scale.
- In Edit Mode, select all faces and use Mesh → Subdivide once. Switch to Sculpt Mode and Top view.
- Use Draw with a broad radius and low strength to raise gentle hills beside the cabin. Brush lightly with Smooth to soften them.
- Return to Object Mode, choose Shade Smooth, and set a muted green material.
Sculpting changes geometry; Shade Smooth changes its lighting. Your hills do not need to match the video exactly.
Add a tree and stepping stones
- Use a small cylinder for the trunk and a cone for the foliage. The recipe includes their positions, scales, and colors.
- Flatten an Ico Sphere into a stepping stone. Duplicate it twice with small size and position changes. Adjust their heights to meet your sculpted surface.
Parts overlap intentionally. This is a static diorama, not a fused, print-ready mesh.
Export and check
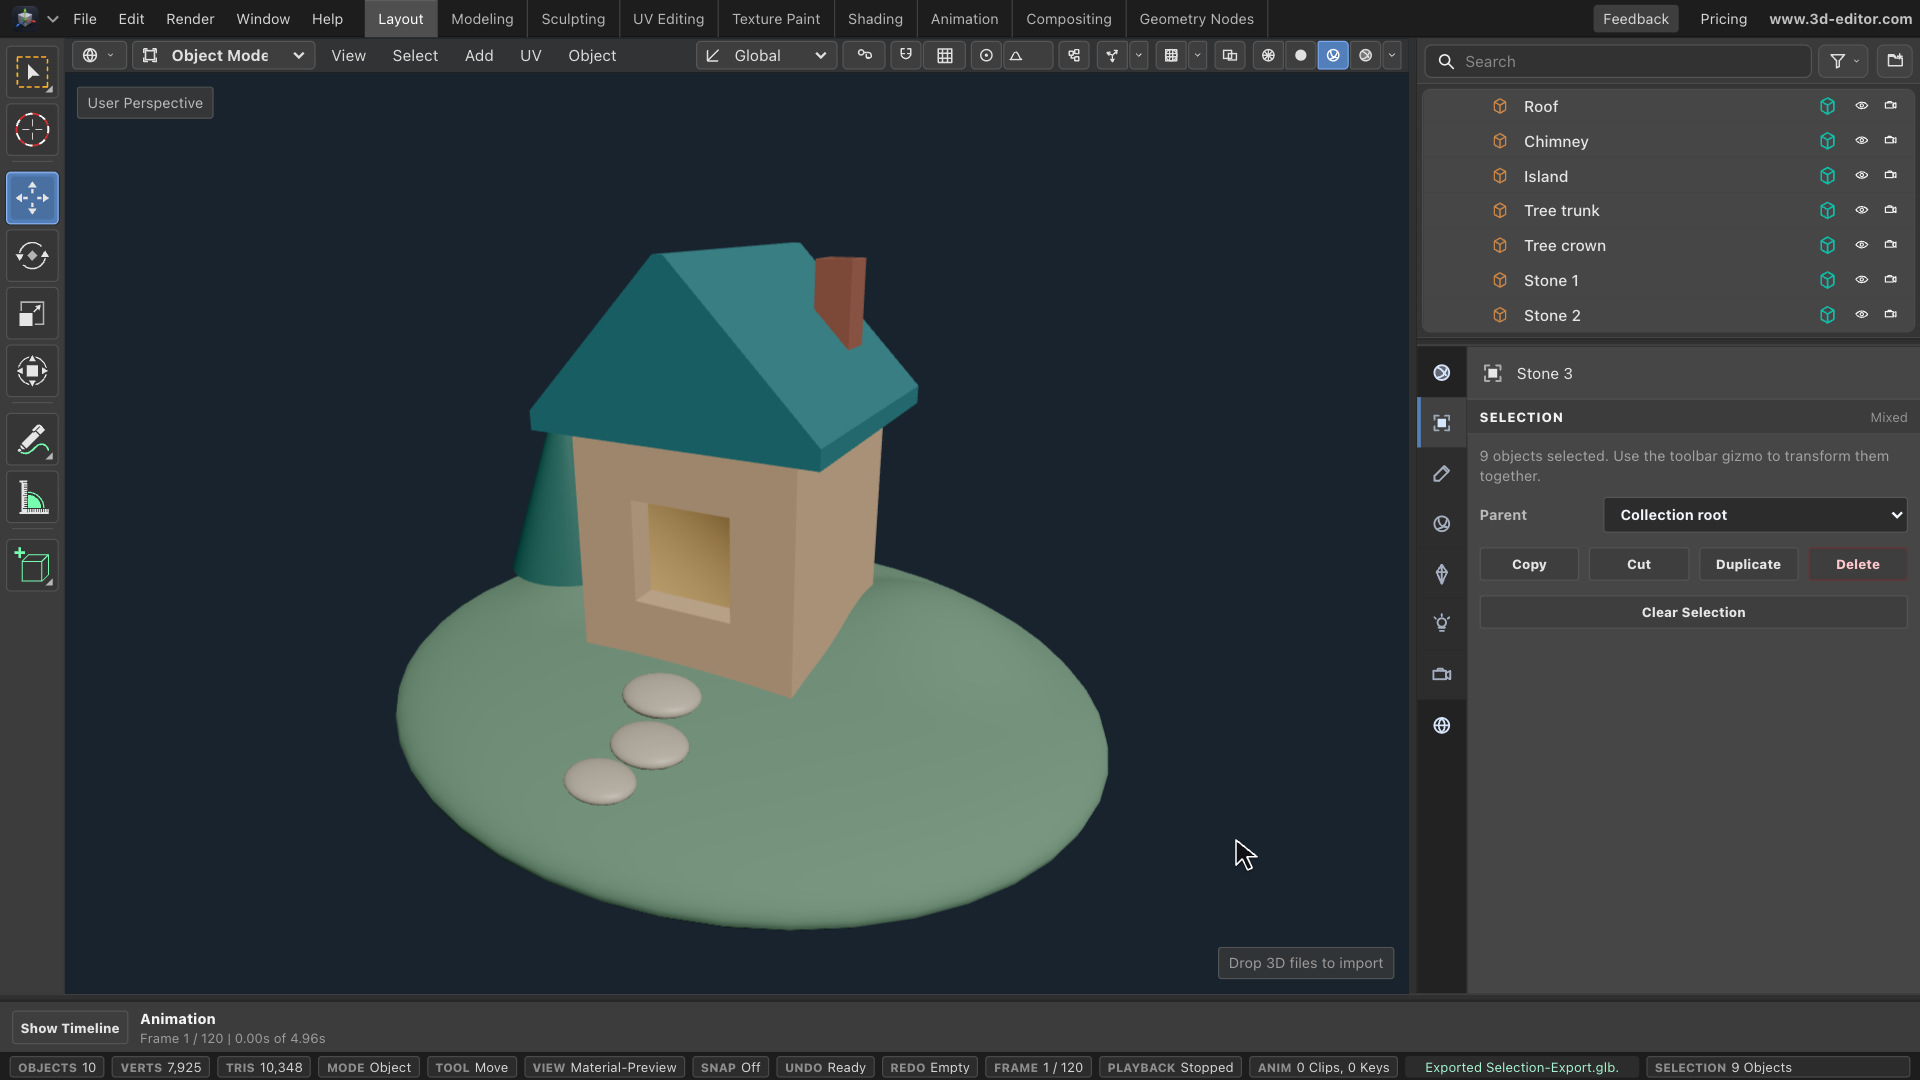
- Select all nine meshes and frame the scene. Orbit to check the recesses, terrain, and connections.
- Save the browser project too. Keep the downloaded GLB as a separate backup.
- Choose File → Export. Set Format to GLB binary and Scope to Selected; turn off Include animations.
- In a new scene, remove Cube and Camera and make Key Light unselectable again. Disable Import as group and Center imported asset, import the exported GLB, and frame the meshes. Check all parts and colors.
A GLB reader may split an object into separate meshes for its material sections. The geometry and colors should remain unchanged.